Purpose
This tutorial is meant to show students how to use “VLC media player”(VLC). Brightspace only takes certain file types and sizes, which can mean that it can be difficult to upload a video if it is taken with a camera that is too high definition or uses a file type that Brightspace doesn’t support.
Requirements:
Estimated time needed: less than 15 minutes. This includes 5 minutes for installation, 5 minutes for adjusting the settings, and 5 minutes for VLC to convert the video. VLC will take longer if the video is longer
-
The video that needs converting
-
Internet connection to install VLC
-
A computer to run VLC (while there are versions of VLC on the App Store and Play Store, they do not have the required functionality )
Download and Install VLC
Go to https://www.videolan.org/vlc/#download
Scroll down until you come across the list of downloads.
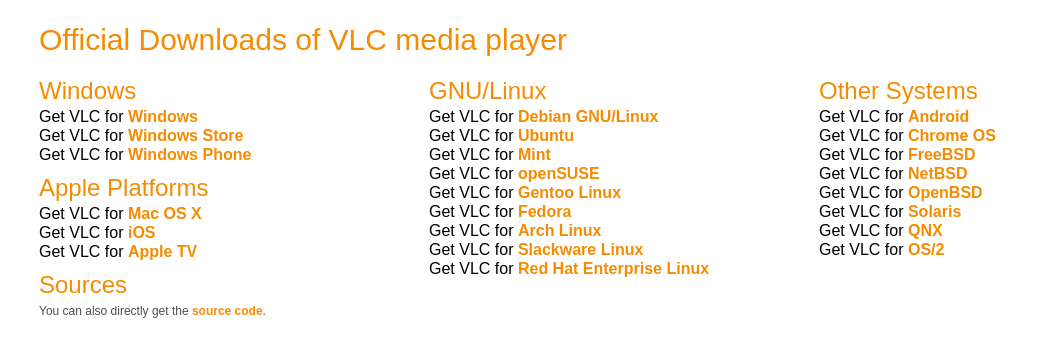
Choose the version of VLC that matches your computer’s operating system. (Windows, Mac OS X, or the appropriate version of Linux. The Android and iOS versions do not do file conversion.)
For windows choose the “Installer for 64bit version”.
*I cannot say how the Mac OS X install process will work at all. The default options for Windows should work just fine, even though the installer pre-selects custom. *
Begin the installation process, which should be similar to any other software installed prior.
Modifying the File
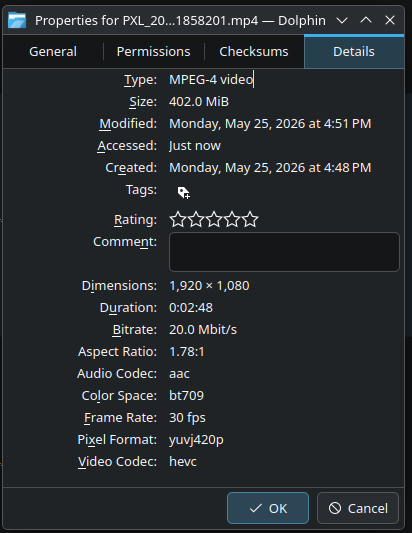
Note: My test file was 402MiB with a resolution of 1920x1080p
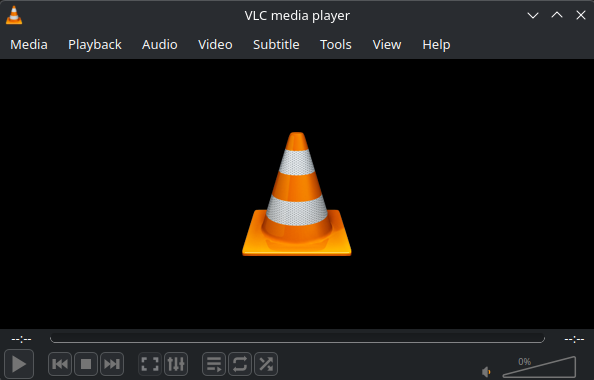
Start the VLC application once it is started it should look like the following:
When it is running either:
- click on the “media” menu in the top left and select “convert/save” as shown below
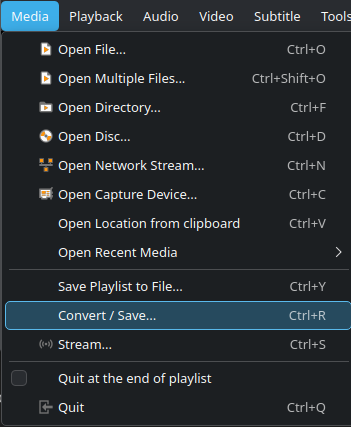
or
- use the “CTRL + R” hot key
You should now have the “Open Media” panel on your screen, which allows you to select the “+ADD” button.
Clicking the add button will allow you to open the file explorer to select the video for which you would like to either shrink or change formatting.
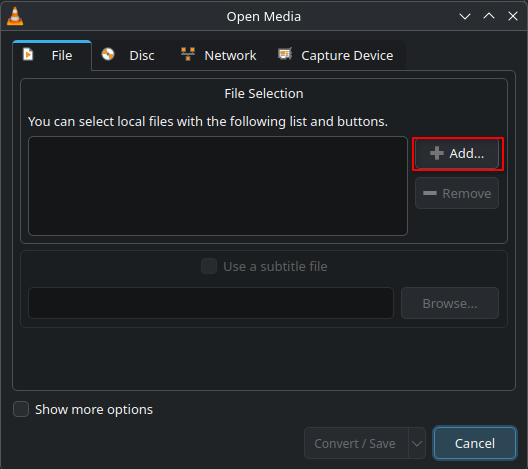
When the vid is selected it should be shown on the “Open Media” window, and the “Convert / Save ” button will now be clickable.
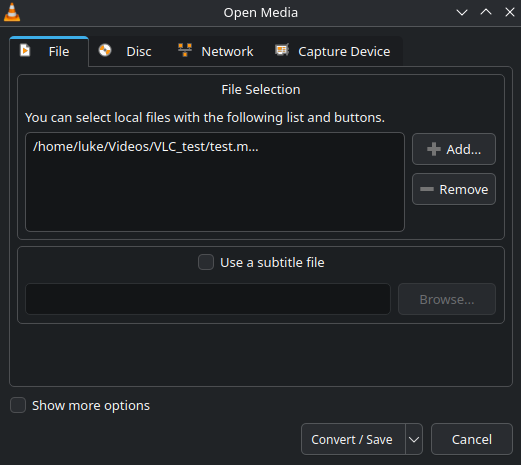
Click the “Convert/Save” button on the “Open Media” window.
This brings up the “Convert Window”. Ensure that in the dropdown menu “Video - H.265 + MP3 (MP4)” is selected. (bright space does not take all video formats, but it definitely takes MP4.) Click the wrench icon next to it.
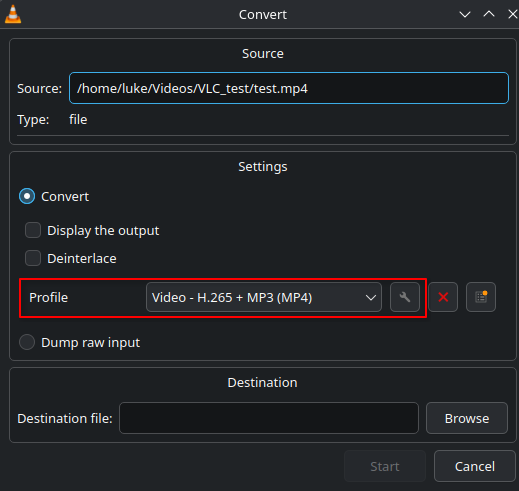
The “Profile edition” screen should now pop up. Change the selection from the “Encapsulation” tab to the “Video codec” tab. Within the “Video codec” tab change the sub-tab from “Encoding parameters” tab to the “Resolution” tab. In the scale dropdown select a number smaller than 1. (e.g. 0.5) You should now have something that looks like the image below.
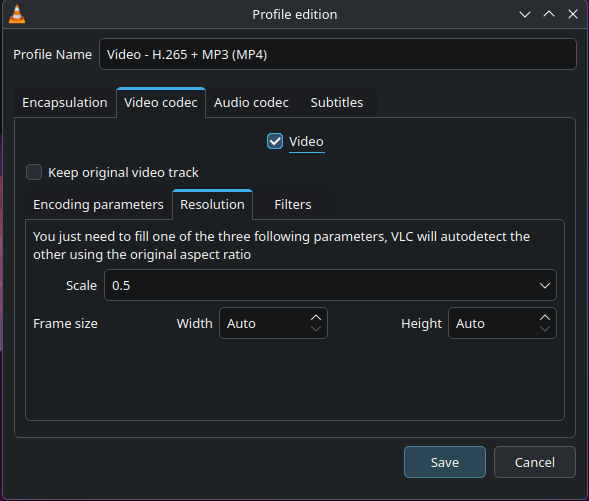
Click the save button, which will close the “Profile edition” window.
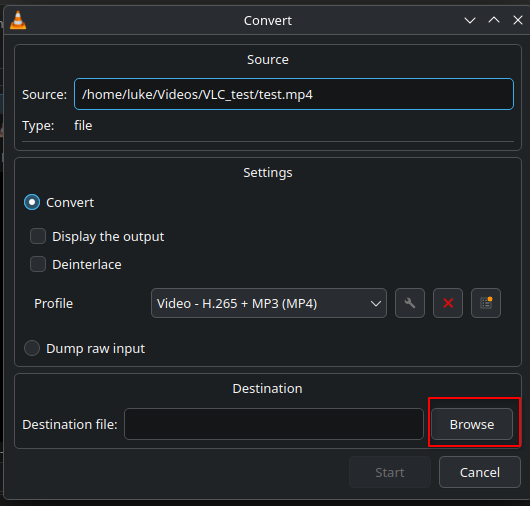
Now choose where you want it place the new file by clicking the “Browse” button on the “Convert” window. This will bring up a file explorer and allow you to choose where you want to save the file. ***Warning: Unless you do not care about the original, make sure that the file name is different from the original or is saved in a different folder to ensure that you do not overwrite your original.***
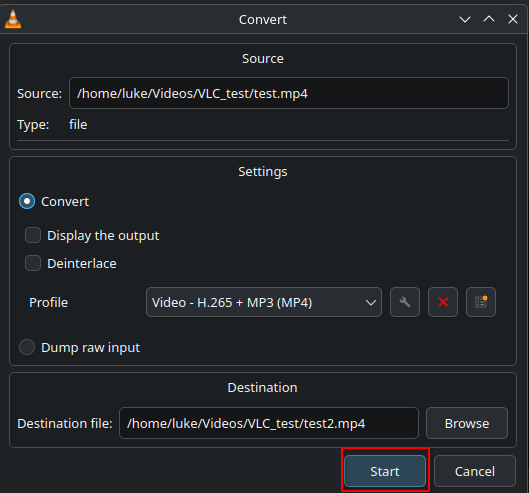
Once the file is selected you can now select the start button, which will begin the process of changing the file.
Conclusion
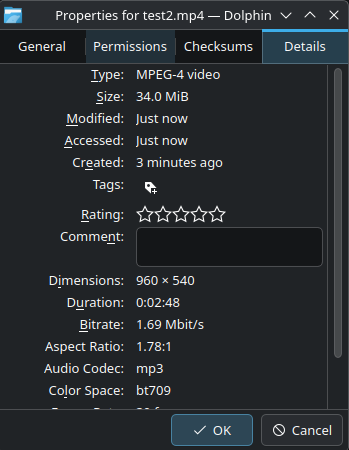
This gives us a file that is significantly smaller at 34MiB. Hopefully now your file is small enough to upload, but if it is not, you can repeat the steps from “Modifying the File”